}
}

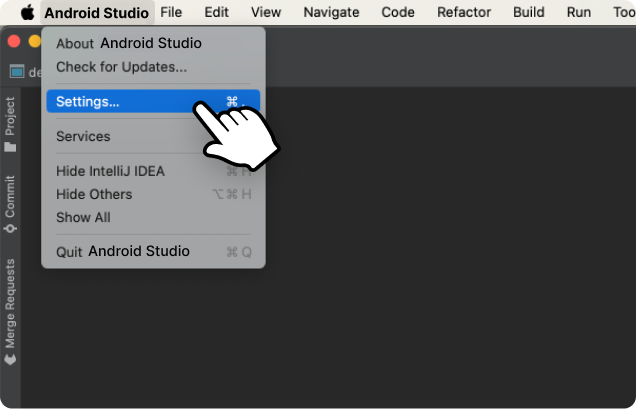
In the File menu, choose Settings.
Tip: If you’re using MacOS, choose Preferences in the Android Studio menu.

In the File menu, choose Settings.
Tip: If you’re using MacOS, choose Preferences in the Android Studio menu.
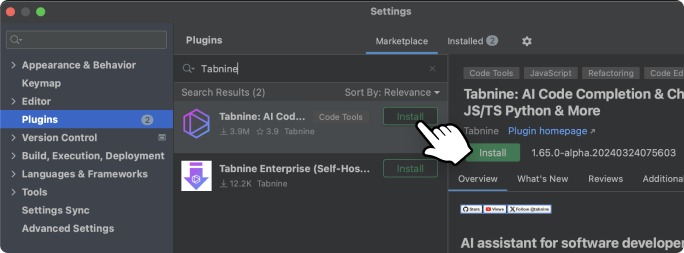
Go to the Plugins / Marketplace tab, search for Tabnine, and click Install. Click Restart IDE for the changes to take effect.
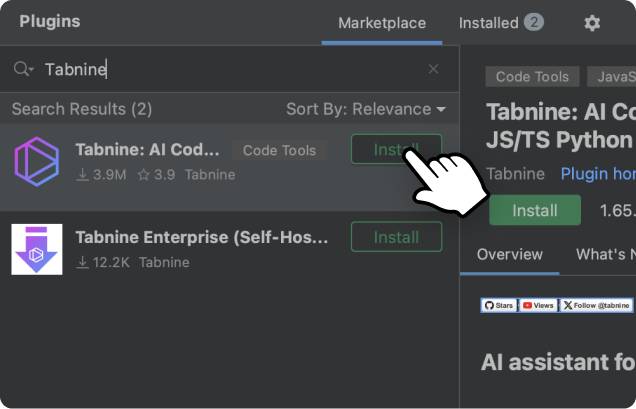
Go to the Plugins / Marketplace tab, search for Tabnine, and click Install. Click Restart IDE for the changes to take effect.
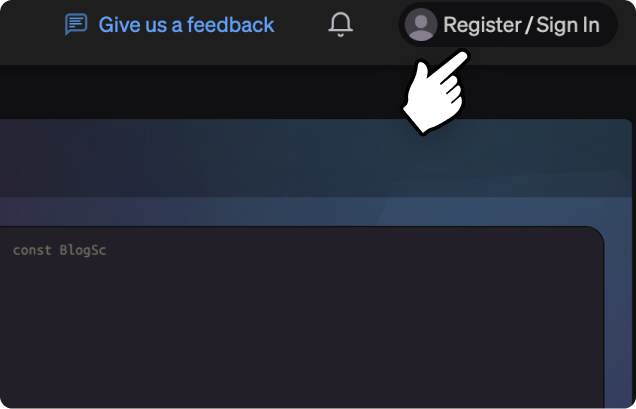
Click the Tabnine logo in your IDE status bar to open the Tabnine Hub. On the top-right corner, click Register / Sign In.

Click the Tabnine logo in your IDE status bar to open the Tabnine Hub. On the top-right corner, click Register / Sign In.
 //
//
For more information on getting started with Tabnine, check out our Docs.
If you have any other issues, please contact us at support@tabnine.com.

For more information on getting started with Tabnine, check out our Docs.
If you have any other issues, please contact us at support@tabnine.com.